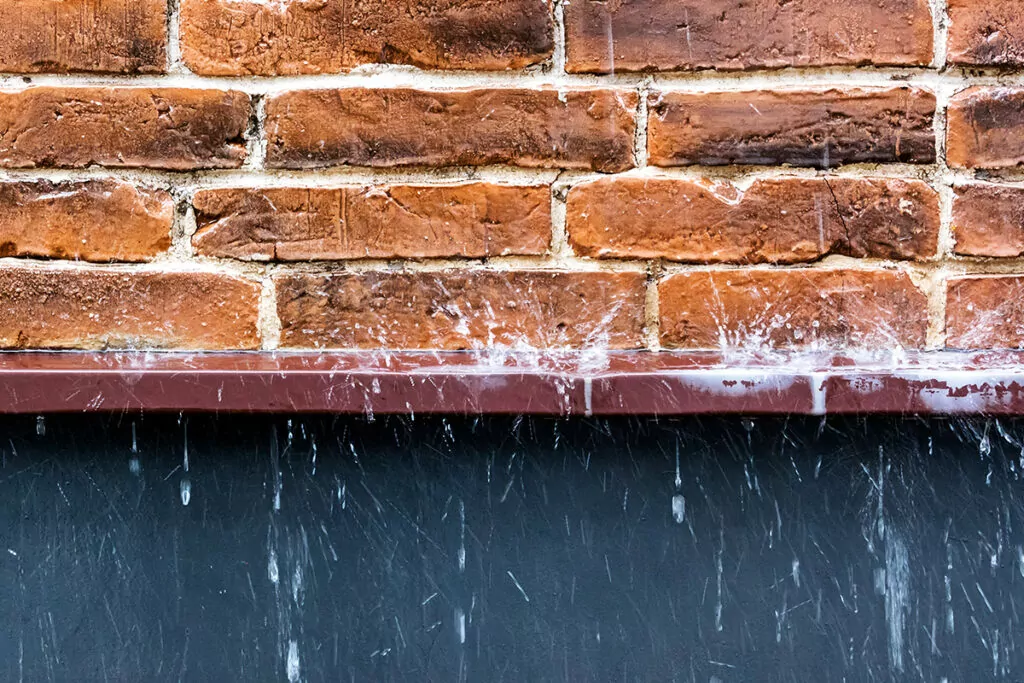
Although brick is an extremely sturdy and hardy material, you may be surprised to learn that it’s not waterproof. Over time, you may notice that your exterior brick walls become susceptible to crumbling, colour fading and cracking. Damp exterior walls can also cause serious mould problems inside your home, which can potentially lead to health problems.
Sealing exterior brickwork is a simple and effective way to protect your walls from moisture and damage. In this article, we’ll provide a step-by-step guide for how to water seal your brick wall. Keep reading for everything you need to know.
Types of brick sealant
Since there are lots of different brick sealants and brick varnish on the market, it can be difficult to know which one to buy. Here’s a little more information about the two main types:
Water repellent brick sealant
We recommend choosing this type of sealant for your walls. It soaks deep into the brick to stop moisture getting into any gaps, but still allows the brickwork to breathe.
Film-forming sealant
These types of sealant are of a lower grade and are not recommended, since they do not allow the walls to breathe. They form a layer on the surface of the brick rather than penetrating it and often trap moisture inside.
How to seal exterior brick
Tools Needed:
- Soft-bristled brush
- Soapy water / brick cleaner
- Power washer / bucket of water and sponge
- Towels (optional)
- Garden sprayer / large clean paintbrush
- Brick sealant
Duration: 1 to 2 hours (plus drying time)
Difficulty: Easy
Cost: Approximately £15 – £40 for sealant
Note: Wait until there is a dry spell before sealing brick walls, since you will need to wash them and wait for them to dry before applying the sealant. It’s best to do it on days that are warm, dry and not excessively hot (which can be a lot to ask for in the UK!).

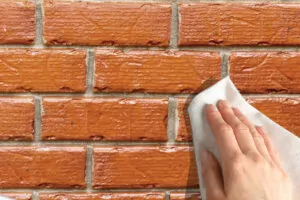
Step 1. Clean the brick
Clean the brick thoroughly before you begin. We recommend using a soft-bristled brush to remove any dust and debris.
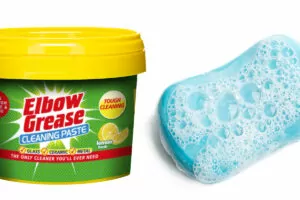
Step 2. Wash the wall
Wash and scrub the brick wall. Some elbow grease is required for this step, since you’ll want to get the wall looking as clean as possible before sealing it. You can use a soft brush and soapy water, or if you prefer you can purchase a special brick cleaning product.
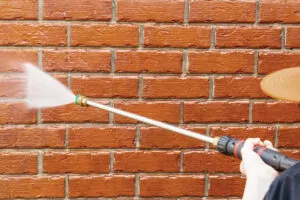
Step 3. Rinse the wall
A power washer is a great option for rinsing the wall, but if you don’t have one you can use a bucket of water and a sponge.
Step 4. Leave to dry overnight
Allow the wall to dry overnight. It’s important to make sure that the wall is completely dry before you seal it, otherwise you will end up sealing in the moisture. To speed up the process a little you can blot the walls dry with old towels after rinsing it.
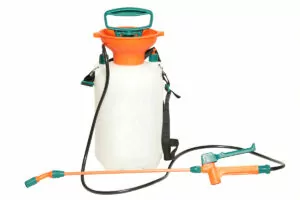
Step 5. Apply the sealant
Use a regular garden sprayer to apply the sealant. Start at the top of the wall and work your way down, holding the sprayer at an angle to stop it from splashing. If you don’t have a sprayer you can use a large clean paintbrush, although this will take much longer.
You may need to apply a couple of coats of the sealant – check the bottle for specific instructions, as well as how long to wait between coats.
Give the wall plenty of time to dry (check the instructions for the product you are using).
Now you’ve got all the information you need about exterior brick waterproofing, you just need to wait for the right weather to do it! Want some help with DIY? Find a Tasker near you today.