If you’ve just moved into a new house or you’re redecorating, fitting stair carpet can seem like one of the more daunting tasks. However, with the right tools and
preparation, the process is quite straightforward.
Read on to find out everything you need to know about how to lay stair carpet, and you’ll be a pro in no time.
If you’re fitting a stair runner, you can also follow the instructions below. Just make sure that the carpet grippers are the right length so that you can get a neat finish.
Tools and Materials
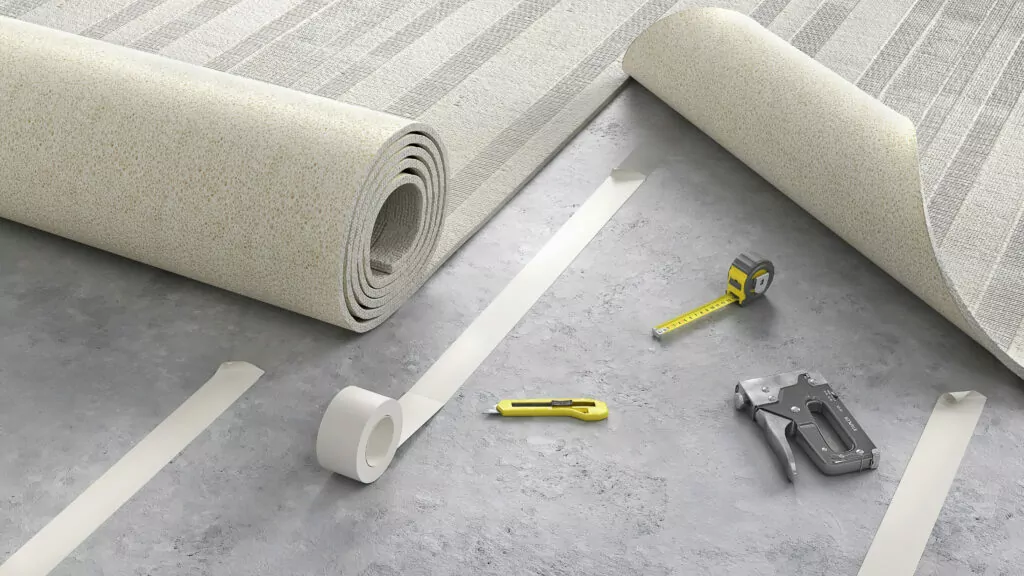
Before you start laying stair carpet, you’ll need to make sure you have all the right equipment to hand. You will need:
- Carpet
- Sharp utility knife
- Tape measure
- Hammer stapler
- Carpet staples
- Carpet grippers
- Knee kicker
Familiarising yourself with the correct terminology for the different parts of the stair will make reading this guide a lot easier, too. Here are the terms you’ll need to know:
- Tread: The part of the step that you tread on.
- Riser: The vertical part of the step that joins it to the next one.
- Nose: The part of the step that overhangs the riser (not all stairs have a
- nose).
Method
Step 1: Remove old carpet
Before you begin, you’ll need to remove any old carpet from the stairs. Get rid of old underlay, tacks, staples and anything else left on the stairs, and give them a good sweep to remove any debris.
Step 2: Measure stairs
Next it’s time to measure your stairs. We recommend measuring one individual step from the back of the tread to the bottom of the riser, allowing for any extra space if the tread overhangs the riser.
Add at least an inch onto this measurement, then multiply it by the number of steps. Alternatively, you might decide to measure each individual step and then add up all the measurements. Since it’s possible for some steps to be slightly different sizes, this is a fail-safe option.
Step 3: Cut carpet to size
Cut your carpet to size using a sharp utility knife. Don’t rush this step, since you don’t want to end up with a strip of carpet that is too wide or too narrow at one end.
Step 4: Fit carpet grippers
Position the carpet grippers at the back of each tread, with the angled edge facing away. You’ll also need to place them at the base of each riser, with the angled edge facing down this time.
Install them on every step except the bottom one, and leave a 10mm gap between the carpet grippers and the bottom of the risers.
Step 5: Staple carpet
Starting from the bottom step, staple the carpet to the riser. Make sure that the pile is facing down the stairs, so that it doesn’t get rubbed the wrong way when you walk on it.
Pull the carpet up and over the first step. Use the knee kicker to stretch the carpet so that it doesn’t become uneven later on. Push the carpet firmly into the gap between the carpet grippers to create a snug fit. If your steps have a nose that overhangs the riser, you’ll need to staple the carpet just under the nose so that it fits the stairs properly. Repeat this process until you reach the top of the stairs.
Step 6: Trim carpet
Staple the carpet to the top of the last riser and trim it off neatly. Pull the landing carpet down over the edge of the top stair. If the step has a nose, you can staple the landing carpet to the underside of it. If not, we recommend attaching the landing carpet at the bottom of the riser to achieve a neat finish.
Fitting a stair carpet isn’t a difficult task, but it can be time-consuming and it does require some patience to get great results. If you’d like some help laying your stair
carpet, hire a Tasker near you today.